If you’re embarking on a beautiful hike, don’t leave your camera at home! This post offers tips for hiking with a DSLR camera, as well as some general hiking tips.
Let us know your tips for hiking with a camera in the comments! Thanks!
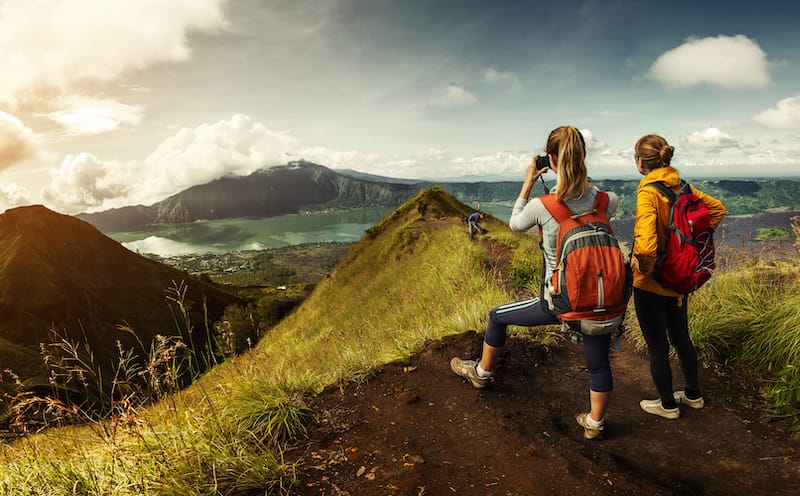
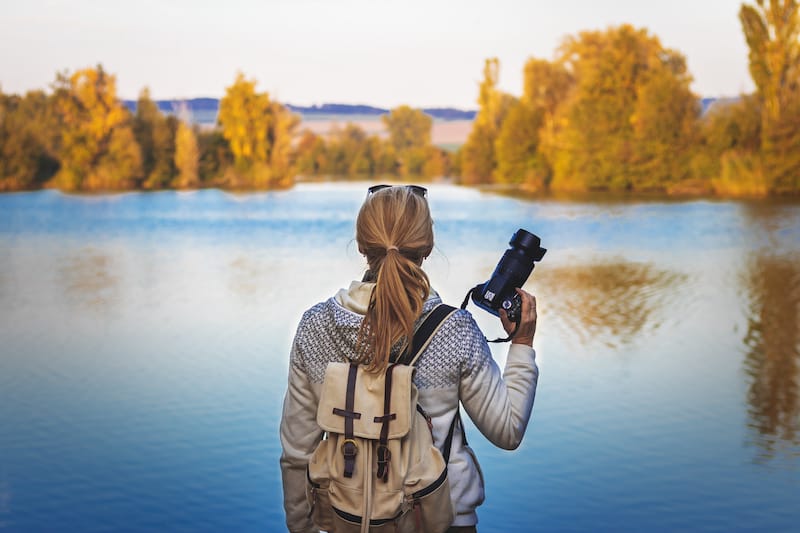
You’d think it’d be easier to hike up a mountain or trail, without a DSLR camera, right? After all, the bulky piece of equipment can get in the way, and if you’re scaling boulders and actual cliff faces, you could easily damage the delicate gadget.
But… you should go out there with it anyway because you can document the beautiful scenery that ordinary point-and-click cameras can’t handle.
Of course, you’ll also need the best camera straps, to ensure your camera doesn’t go bouncing everywhere. You may even want to consider using camera harnesses and camera slings, instead. That way, you know your camera is secure.
Nevertheless, there are many reasons why you should take your bulky and expensive DSLR camera with you, instead of a phone or those standard automatic digital cameras and there are many ways you can protect it from the elements.
So, we’ve listed ten essential tips you can use to ensure your camera stays safe and you can enjoy your hike without worry!
Hiking with DSLR Camera
Plan Your Trip
It’s safe to say that this is true for any type of trip you take. Even if you’re not taking a camera with you, it’s best to play it safe and plan your trips beforehand. If you do decide to take your camera, make sure you know which areas are too dangerous to stop at, and which areas are safe to take pictures in.
For example, if you’re standing on a rocky outcrop, you want to make sure that the boulders you’re standing on are flat and stable enough to actually stand still and take your photos from.
By knowing the terrain and the area, you’ll be able to know when the best time to take your camera out is, and when it isn’t. Not to mention, if you’re using a drone, you should know whether the area is a drone-free zone, or not. And no, US national parks do not permit drones without a permit.
That way, you’ll be able to not only take great photos from your DSLR, but you’ll probably get amazing videos from heights you wouldn’t be able to reach on your own.
Check The Weather
Again, this is another all-around trip tip that is especially important if you’re carrying a camera. Why? It’s because no matter what the box says, a camera is not always waterproof, especially if you’re sloshing through the mud or fording rivers.
A camera, particularly a DSLR camera, can withstand water up to a certain extent and if you’re in a place that includes warnings for monsoons, hurricanes, or typhoons, your camera will end up getting damaged.
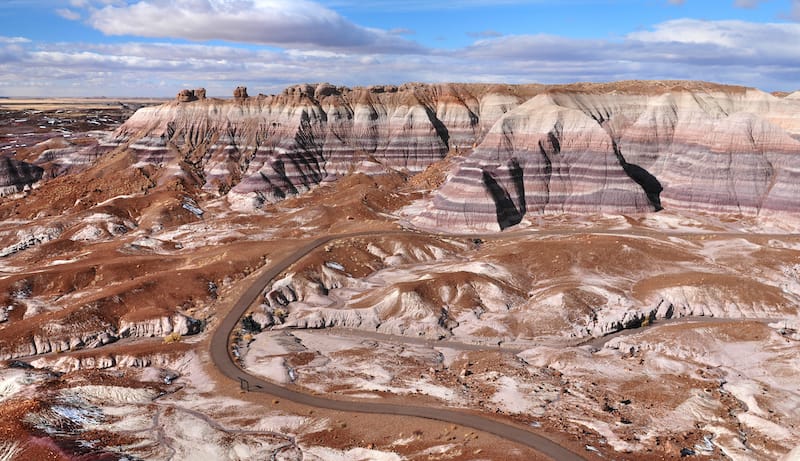
Similarly, if it’s too hot, and you’re in a desert, like Death Valley, where temperatures can get egg-frying hot, your camera will suffer as well.
The delicate circuits inside could melt and stop functioning altogether, and you won’t have any means to fix it since the closest repair shop will be in the nearest major city which could be hundreds of miles away.
So, be sure you know what the weather will be like, and which camera to take in such weather. If you don’t have a specialized camera, bring the right accessories that protect it from the weather.
Pack Your Tools
Of course, this is very important, especially if you’re going to hike a mountain or a forest for more than a day. You’ll need to pack the right gear, like extra socks, shirts, toiletries, insoles for hiking, boots, and your basic camping tools.
But don’t forget to pack your camera’s gear too. You’ll need to remember to pack accessories like a good camera strap for hiking or your camera’s storage bag when you’re sleeping.
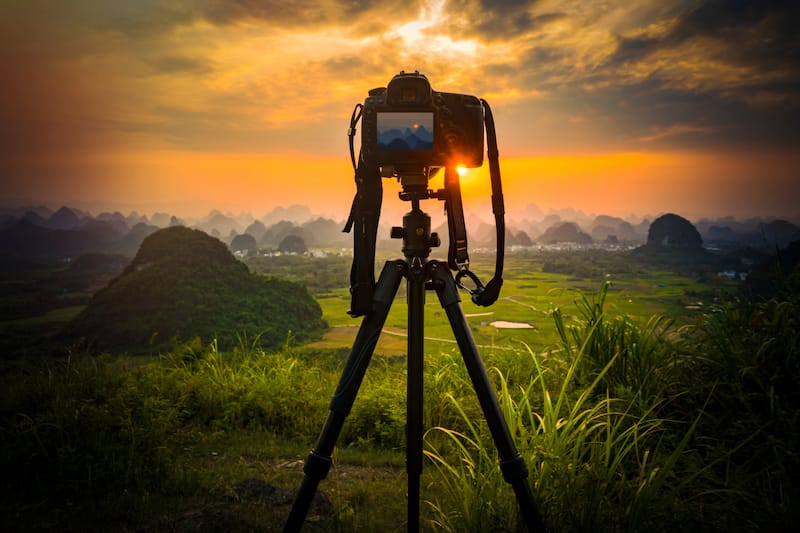
You’ll also want to pack some lenses, a few extra batteries (especially if you’re in the cold or photographing the northern lights!), and if you’re going to take your time with your photos, you’ll want to pack your tripod too.
Make a list of what you want to pack, what you know you need to pack, and what extras you think you can take along with you if you’re going to be out hiking for the weekend or longer.
By making a list, you’ll find it easier to pack the right things and eliminate the accessories you might not need, especially if you’re going to hike with some friends or a group.
Bring Along A Spare
It’s always a good idea to bring along a spare camera. That doesn’t mean pack a standard point-and-click, especially if you’re already choosing to go with a DSLR.
So, pack a compact camera. These cameras are similar in style to the point-and-click cameras, but they have the quality of a DSLR. That way, if you’re feeling lazy and you don’t want to have to adjust your camera’s settings every time you want a photo, you can easily do that with these cameras.
Of course, if you want, you can pack a second DSLR, but make sure that if you’re going to be wearing it around your neck, remember to wear a different style of camera strap for each of them or use a camera harness that can ensure you don’t get tangled up in your gear.
After all, you’re going to be lugging around a heavy backpack, and if you’re wearing two DSLRs, you don’t want to have to fish out the right camera strap, or the right camera from the many straps that are covering your body.
Don’t Forget Those Special Lenses
If you’ve been in the photography industry for a while, you’ll know what the best lenses for your cameras are, especially if you’re going for a certain look in your photographs. Don’t forget to take your specialized lenses!
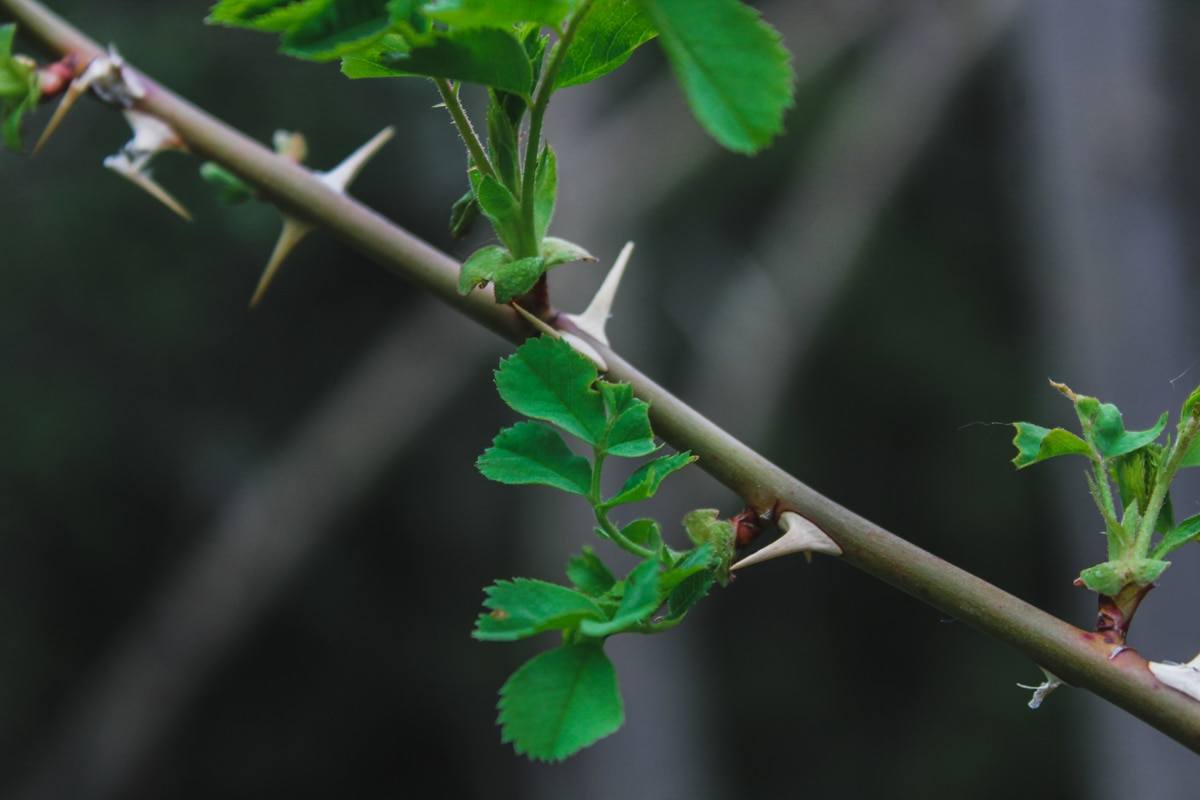
This can be anything from a micro zoom lens if you’re taking macro shots of bugs and plants, to those landscape lenses that’ll ensure you cover the entire landscape you see in front of you.
Again, if you’re in the photography industry, or you’re just starting out, you’ll already know what kind of photos you want to take. So, make sure you pack the right lenses for your hike.
After all, photography on a hike encompasses a whole range of different photographic styles, from animal photographs to wide landscapes, and from human activity to insect activity. So, be sure you know what kind of photos you’re taking, so you know what lenses to pack.
Look The Other Way
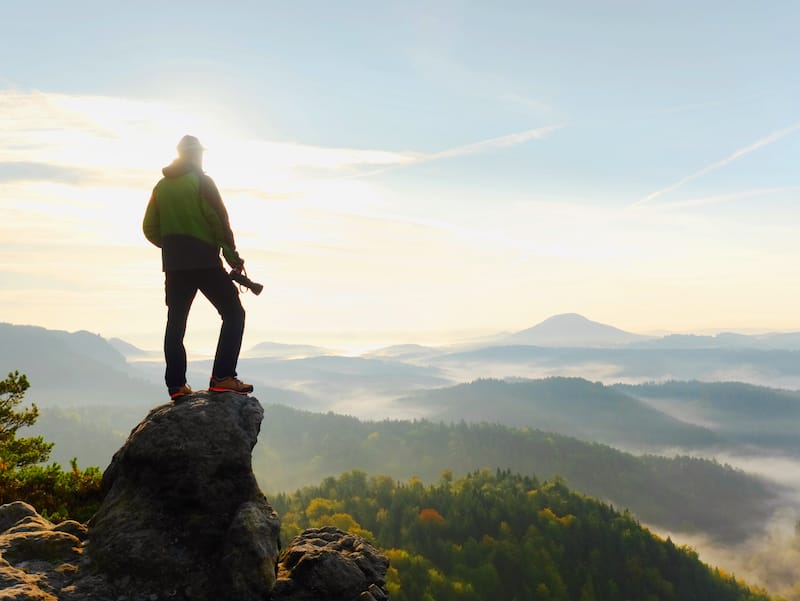
This tip helps to take great photos. If you’re on a hike, you’re probably going to want to get to the top of that mountain as fast as you can. Stop!
As the proverb goes, “it’s not the destination, it’s the journey”. In this sense, it’s about knowing when the best time to stop and look around is. If you’re going up a mountain, don’t forget to look back as you’re hiking. You might find unexpected hidden gems that you didn’t notice, as you were climbing up.
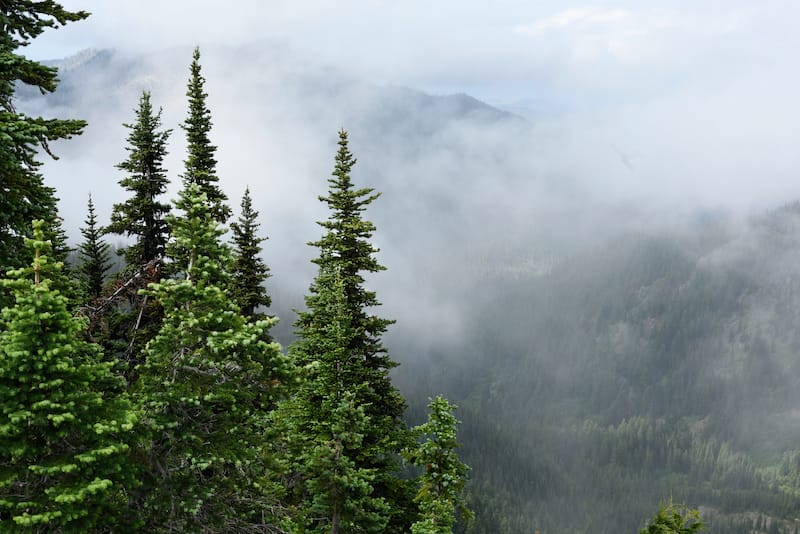
The same can be said if you’re walking through a forest. If you stop and look around every now and then, you’ll find something that catches your eye that can become a great photo op!
So, when you’re on your hike, no matter how long it may take, don’t forget to look around and see what’s in front of you. While the views at the top can be amazing, you’ll find that, on the way, there are things you won’t see once you get to the top.
Tell A Friend
A hike can be a dangerous thing, even if you’re venturing out onto your local forest trail. Letting someone know that you’re going out, even for a few hours, is especially important in this day and age.
So, always tell someone you know where you’re going and what you’re doing. Don’t forget to tell them how long you think you’ll be out because you never know what kind of accidents you might fall into if you’re not careful.
Even if your hike is one that you’ve taken dozens of times, there are always pitfalls that might appear when you least expect it. That doesn’t just mean you might slip and fall or cause yourself an injury in any way.
What that means is you might encounter other hikers and explorers or even be robbed. After all, if you’re lugging around a big DSLR camera, and while it’s unlikely, there is still a chance someone could harm you for it.
So, don’t take any chances and make sure that someone who isn’t hiking with you knows where you are, what you’re doing, and how long it’ll take.
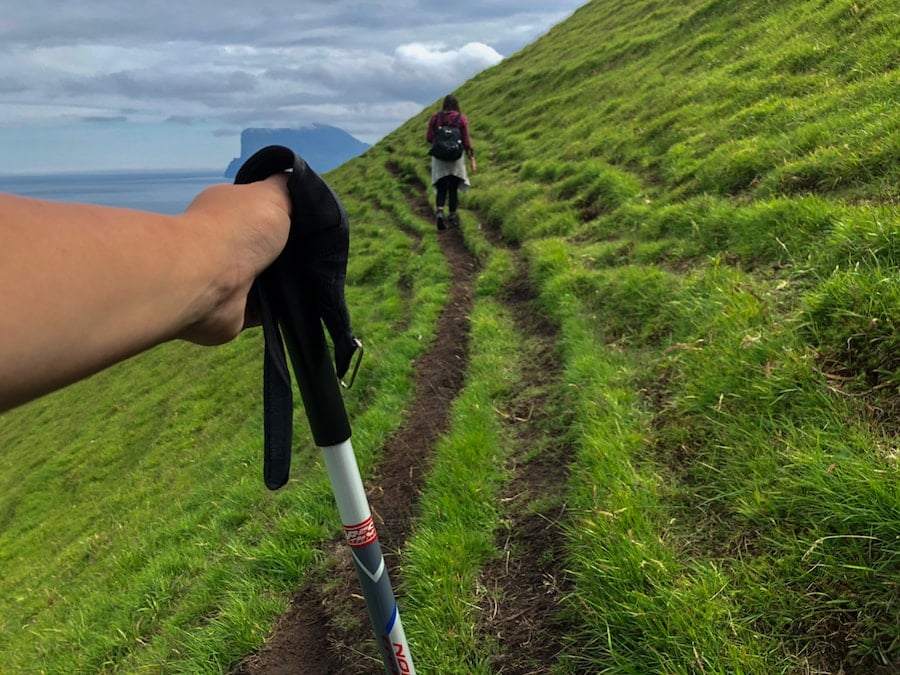
Wear The Right Gear
Another key factor for safety is your clothes and shoes. Remember to wear the right gear for your hike. Some hiking trails can be more dangerous than others and if you’re not equipped correctly, you’ll find yourself injured or worse.
So, be sure to wear the right gear. That means wearing the right shoes, socks, pants, shirt, and depending on the weather and the season, hats, scarves, gloves, and even raincoats.
Remember, before any hiking trip, even if it’s without a camera, you’ll need to know what the terrain and the weather will be like so you can plan for it. The same will go for your gear.
Plan with the terrain and weather in mind so you don’t get into any accidents that might put you in harm’s way. Once you do that, you’ll be able to figure out how to keep your camera safe.
So, if it’s pouring with rain, you’ll be able to keep your camera covered and dry, or if you’re somewhere hot and arid, you’ll be able to keep it cool and out of the sun. Remember to wear the right gear when you go for your hike.
Get Permission
Just like planning for the day of your hike, there are factors you need to take into consideration like whether or not the area you plan to go for your hike is accessible. It’s important, especially if you’re taking drones with you.
There are certain locations where even a hiking trail requires a permit (like Sorvagsvatn in the Faroe Islands), not least because they could be dangerous, but because they could be private property. Make sure you get the permits you need, or at the very least, that the trails you’re going to hike are public property.
It’s important you remember to get the right permits, so you know that if anything should happen, even a minor accident, you are not liable for any court actions. It’ll ensure that you and those around you know that you took every precaution to make sure nothing bad happens, while you’re out on your hike.
Always Have Your Camera At The Ready
Now that you’re all ready to go and you are keeping your eyes out for the best shot, don’t forget to use your camera. It’s the whole point you brought it with you, after all.
Of course, for the most part, a hike is all about getting physical activity and the fresh air but if you have your camera with you, don’t forget about it. Capture the beautiful scenery around you and not only show it to your friends and family, but also document your trip for yourself.
As they say, “a picture is worth a thousand words”, so use your pictures to tell the world how beautiful going on a hike can be. Always have your camera ready, if not already by your side, but the settings on the camera too.
Remember, you’re going to be walking beneath trees and out in open fields, so the settings on your camera need to change for every location you find yourself in. Of course, you can keep its settings on automatic, but what would be the fun in that?
Experimenting with the settings on your camera can prove useful, especially when you look over what you’ve taken. You’ll find a style that suits you, where you might not even need Photoshop to retouch the photo.
Get Out There!
There you have it – ten tips to ensure you take the best photos with your camera and a perfectly safe hike. Although, there is one more thing you need to remember: going out on a hike and taking beautiful pictures shouldn’t be a chore!
With everything else in life, you need to remember to have fun while you hike. Otherwise, what would be the point in going out in the first place? Yes, a hike can be an adventurous thing to do, but if you don’t enjoy it, you won’t get to see the beauty around you, even if you take photos of the beautiful scenery.
So, make sure that going on a hike, even without a camera, is something you want to do, and if you’re not sure why not try going with a large group, or get a mentor to help.
If you’re with other people, chances are, you’ll be able to enjoy it more because they can show you a different perspective. You’ll see just how fun a hike can be and eventually, you’ll want to try going by yourself. When you do, don’t forget your camera!
BIO: Catalin Geangos is the Founder and Editor of TravelTrained and a travel blogger who mainly focuses on nightlife, pub crawls, and party experiences while traveling in Southeast Asia. He moved from Romania to the UK 6 years ago and since then, he has traveled to over 30 countries.
Megan is a travel blogger and writer with a background in digital marketing. Originally from Richmond, VA, she now splits her time between Frankfurt, Germany and Arctic Finland after also living in Norway, Armenia, and Kazakhstan. She has a passion for winter travel, as well as the Nordic countries, but you can also find her eating her way through Italy, perusing perfume stores in Paris, or taking road trips through the USA. Megan has written for or been featured by National Geographic, Forbes, Lonely Planet, the New York Times, and more. She co-authored Fodor’s Travel ‘Essential Norway’ and has visited 45 US states and 100+ countries.
Good story lurning a lot new with DSLR CAMRAS
Thank you!